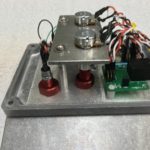
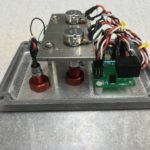
Watertight Thruster Commander Control Box (Ver 3)
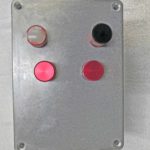
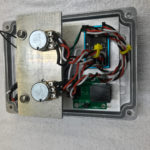
I am using a BUD AN-1305A cast aluminum box that I got from Mouser Electronics for the control box enclosure.
The BUD cast aluminum box has an IP68 rating. Prior to making any holes in this box, I installed the gasket that came with the box and tightened the lid to what was my best guess for 12-inch pounds as per the BUD’s recommendation. I submerged the box in about 10 inches of water for 15 minutes. I had to weigh down the box since it will float. After 15 minutes I took the box out of the water and opened the lid. There was NO water inside the box.
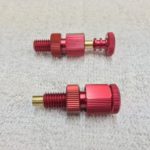
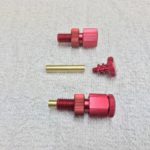
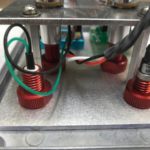
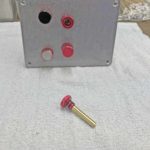
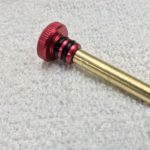
I am now using modified BlueRobotics Enclosure Vents for watertight control of the Thruster Commander Speed and Steering Potentiometers.
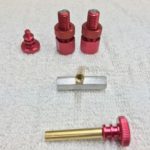
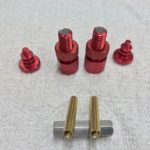
I modified the Enclosure Vents by drilling out the hole in the bolt to 0.257” (F drill bit). Then cut some 0.250″ precision brass rod (+/- 0.0002”) and drilled and tapped one end so it would screw on to the Enclosure Vent Plug. M5X0.8
Note: I am using 0.250″ precision brass rod because its tolerance is very good and the precision rod fits perfectly into the ServoCity Clamping Shaft Coupler (0.250″ – 0.250”). The other side of this coupler connects to one of the potentiometers. Same for both potentiometers.
You can use 260 0.250” brass rod but the diameter tolerance range is +/- 0.002” and will not fit the ServoCity Clamping Shaft Couplers. This rod is only $3.60/foot vs $18.51/foot for the precision brass rod. Using a drill press, It is pretty easy to take off a few thousandths with some 800 wet/dry. Having said that, the fit between the brass rod and the 0.257” (F drill bit) hole in the Enclosed Vent Bolt is fairly tight. One could drill out the bolt to 0.261” (G drill bit) but I worry about how much material is left between the valleys of the external bolt threads and the wall of the hole that is drilled out. My calculations indicate that there is about 0.040″ of material between the external thread minimum diameter and the wall of the 0.257″ hole wall.
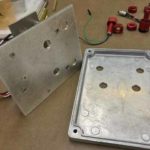
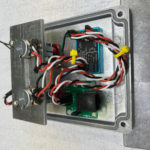
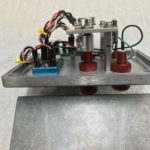
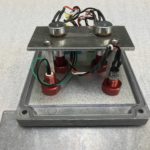
I have added a 0.125″ aluminum panel to the inside of the BUD aluminum box cover. There are two reasons for this plate. First is that the Enclosure Bent Nut cannot go beyond the threads on Enclosure Vent Bolt. When working with thinner materials this is an issue. I tried using washers in an earlier version but wasn’t happy with that. By adding the 0.125” aluminum plate to the interior of the cover that is enough thickness between the top of the cover where the bolt and its O-ring sit and where the nut screws on the bolt. Works perfectly. Secondly, having the 0.125” aluminum plate allows me to attach two standoffs, the Thruster Commander, and the signal driver board to the setup without having to make any holes in the exterior of the cover. The plate is held in place by the two modified BlueRobotics Enclosure Vent assemblies, the pilot light assembly, and the switch assembly.
After assembling this latest version, I did another water tightness test, 15 minutes submerged in 10 inches of water, and had the same results as with the box alone. There was NO water inside the box.
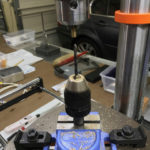
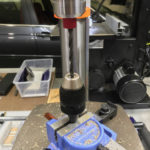
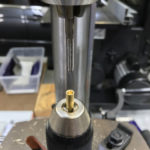
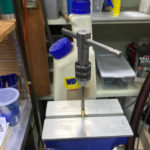
Note: I don’t have a lathe but found a great solution on YouTube using a drill press. I also used this solution to drill out the bolt. I modified this solution by using a drill chuck in my vise and using a length of 0.250” SS rod I aligned the drill press chuck and the chuck in the vise. I then tighten my drill press table very tight and then clamped my vise to the drill press table. This setup is basically a vertical lathe 😉
For tapping the M5X0.8 thread hole at the end of the brass rod, I put the rod in the chuck that is held by the vise and the tap in the drill press chuck. I manually tapped a few threads in this manner and then put the rod in a larger vise and finished tapping the hole with a standard tap and tap handle. This gave me more control and a better “feel” as to how the tapping was going.h
Additional images of Thruster Commander Control Box


